How To Clean Tinted Car Windows

How To Clean Tinted Car Windows

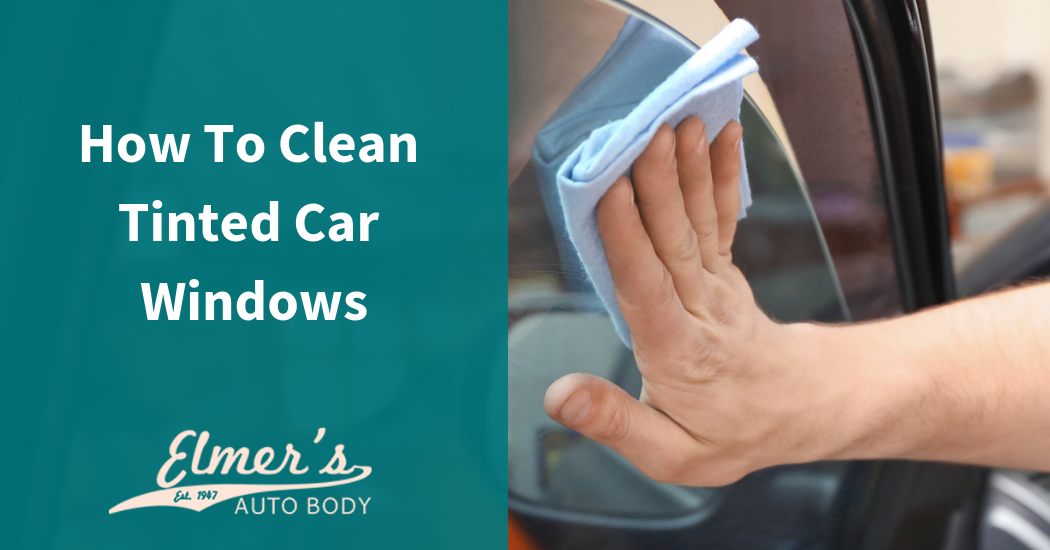
Tinted windows are here to stay and with many new vehicle windows already tinted from the factory and other window tinting choices available through tint shops and do-it-yourself window tinting, there are a lot of car windows out there that require upkeep and simple everyday cleaning. Just how easy is it to clean tinted car windows, and how does a person go about doing it? Here are a few ways to keep those new and older tinted windows clean and fresh looking.

1. Factory Installed Window Tint

If window tint has been factory installed, it is not considered a film, so vehicle windows of this type can be sprayed and cleaned with regular glass cleaners.

2. Non-Factory Installed Window Tint

With window tint that has been applied to windows in a plastic film form, damage can occur to the windows when chemically laced window cleaners are sprayed and wiped over them. More natural cleaning methods are necessary with this kind of tint, which consists of the following methods and steps for windows that are slightly dirty or streaked, or for just everyday window cleaning and maintenance.

Required Materials

Paper towels or soft microfiber cloths
Spray bottle with water

The Process

  • Lightly spray the car window or spray directly on the cloth and wipe it over the window.
  • If cleaning the interior side of the window, carefully spray, as window tint products are actually applied from the inside, and they need to be treated with care.
  • When wiping, go across the window in a vertical motion and cover the whole area of the window.
  • Now wipe in a horizontal manner until any water or streaks are no longer visible.
  • Carefully check for any leftover dirt or streaks. Since water is the only cleaner being used, it is important to note that the cloth is what is catching the dirt and the window should be free of debris.
  • If any streaks remain, complete the process again. Just use the clean side of the cloth to wipe away any remaining residue, or get another clean cloth.
  • Continue to repeat the process as necessary to clean the window.
  • Don’t forget to roll down the window a short ways and clean the edge of the window glass that goes into the track of the window. This edge should be cleaned well, so that every time the window is opened there is no line of dirt left to continually dirty a window that is being rolled up or down.
  • Complete the edge cleaning for all of the windows in the vehicle.

3. Using Glass Cleaner on Tinted Windows

When cleaning tinted car windows with actual glass cleaner, be sure that the glass cleaner is free of ammonia. It can be damaging to tinted windows, particularly if used continually. Any glass cleaner that has a blue color to it should be avoided as that usually means ammonia is present in the list of ingredients.

Required Materials

A non-blue glass cleaner (no ammonia)
Paper towels and a cloth that is free of lint

The Process

  • Spray an ammonia-free cleaner on the tinted window to be cleaned.
  • To avoid over spray or spotting with any kind of cleaner, spray the cleaner on the lint-free cloth, rather than directly on the window.
  • Clean the whole window, including the edges that fit in the window track.
  • Complete the cleaning as fast as possible as most commercial glass cleaners dry quickly.
  • When wiping, do it in a up and down pattern first and then switch to a horizontal sequence until the glass is completely dry.
  • Always check for streaks. If they are there, it is probably because of overly dirty windows or a cloth that may be saturated with dirt.
  • Continue to clean and repeat the process if the streaks remain. Always use the clean side of the cloth or use another clean one.
  • Always clean the interior windows as well with the same ammonia-free product.

4. Using Soap and Water on Tinted Windows

When tinted windows get extremely dirty, it’s time to bring out the good old soap and water. An accumulation of dirt could mean that the interior of a car has residue on the glass from cigarette smoke build up, a heater leak or another source that causes cloudy windows that retain dirt and moisture. Any remaining residue on interior windows can require several cleanings, and soap and water does help. If there are remaining streaks, a spray cleaner can be used to clear them.

Required Materials

Warm water and a metal or plastic bucket
Dish detergent (grease removal ingredients)
Microfiber cloth
Scratch-proof/soft sponge

The Process

  • Combine the dish detergent (approximately one teaspoon) with a gallon of warm water.
  • Soak the sponge in the water.
  • Wring out the sponge so there are no drips dribbling down the windows.
  • Wipe the windows from edge to edge with the sponge.
  • Repeatedly rinse the sponge and, again, wring it out to resist drips.
  • Wipe the windows with the microfiber cloth.
  • Let the windows dry and if there is streaking, repeat the process.

Cleaning tinted car windows doesn’t have to be a labor-intensive process. Following the methods outlined here should result in both exterior and interior windows that are clean as well as streak free. If you have questions concerning caring for and cleaning tinted windows, complete the online contact form, and a window tinting expert will get back to you with the answers you need to take care of your tinted windows in the best way possible.

6 Common Reasons Your Car Vibrates

6 Common Reasons Your Car Vibrates

Most any car owner at one time or another experiences car vibrations or shaking. It can come out of the blue or it can be a long-standing problem that gets worse over time. The shaky feeling might be barely noticeable at first, or it could be an intense and teeth-jarring experience. For any driver, vibrations are a hard nuisance to deal with and should be looked into, whether the vibration seems minor or is more significant. You don’t want to wait as any more involved vibrations can indicate an expensive fix. So, don’t procrastinate about seeking a professional’s opinion. There are reasons as to why a car vibrates and here are 6 common ones as to why it happens.

1. Brakes

Your brakes could be the culprit with vibrations and shaking. The clue is that the vibration occurs and escalates as the brakes are applied. The parts that are likely affected are the brake rotors (disks). Rotors are the heavy metal disks that the brake pads are mounted to, which help to slow down a vehicle. These metal disks receive a great deal of pressure along with a lot of hard wear as well as exposure to heat through friction that occurs through everyday use. The heat and wear on a rotor can cause it to warp and become uneven. The wear and unevenness can be minimal but when it gets to the point that a rotor is uneven and distorted in its consistency, and the brake pads can’t grip properly, it’s possible that brake vibration will be felt.

Other brake related vibrations could occur due to a brake caliper that is immovable or stuck. Calipers are fastening devices and the brake pads are attached to them. The calipers exert a push on the pads to take hold of the rotors once the brake pedal is depressed. Sometimes, one or the other calipers can get stuck. Shaking as well as pulling to the side can occur when this happens. This is one problem that requires attention.

2. Engine

Though a rattling or vibrating engine should be of concern, most of the time it is not as worrisome as vibrations in other areas of a vehicle. A sign that an engine may be causing vibrations can be recognized through an unevenness in the vibration. There can be shaking and jerking when accelerating, or while driving at certain speeds for a certain amount of time. It could also happen once an engine has warmed up.

Engine vibration problems could be caused by bad or damaged spark plugs, or the spark plug wires, both of which could need adjustment or replacement. If the vibration isn’t from the spark plugs or wires, it could be the fuel or air filter. When either one of these becomes blocked or dirty, an engine will be short on fuel and oxygen, which can result in vibration and a rough and uneven ride.

3. Tires

Old, worn, uneven, unbalanced, bald and dry tires are often the cause of vehicle vibrations. Tires aren’t the most enduring parts of a vehicle and if tire air pressure, rotation, wheel alignment and suspension concerns are ignored, tires are going to have a shorter lifespan and are capable of causing shaking and vibrations.

Separated tread is another more serious cause of tire vibration and is often the result of overinflated tires. If tire tread separates, immediate attention is necessary, which usually means replacement.

4. Wheel Alignment

Wheel alignment is not necessarily the direct cause of shaking or vibration, but if the alignment has not been done according to specifications, it can cause related shaking problems. All vehicle wheels need to be aligned correctly and if the alignment is out of sync because of bad driving and minor and major accidents, the alignment is going to be compromised. Tire wear and a shaky steering column are also strong indicators of wheels that may require alignment.

5. Engine/Motor Mounts

Engine or motor mounts are what hold an engine in position. They secure the engine to the vehicle’s frame. Motor mounts are made of metal and rubber that are connected to the frame. The rubber within the motor mount helps to soften the engine vibration while the metal provides the structure. Motor mounts can wear out and the embedded rubber wears more quickly than the metal and loses its cushioning effect. This can eventually cause shaking and vibration. The motor mounts will likely need to be replaced to alleviate the shaking and any structural damage that may have occurred.

6. Axle/CV Joints

A damaged axle can be serious business. Vibration can be caused by a bad or damaged one that can result in suspension vibration. Axle damage can result from a minor or major impact, from accelerating and hitting speed bumps, potholes, and curbs. The damage won’t make itself known right away. Once the shaking starts, it will likely get worse, especially at increased and higher speeds. Any axle issues should be addressed immediately.

Other vibrations can occur through worn CV joints. They are found at the ends of the drive axles and are encased in a rubber boot. They function to retard dirt, grime, and other debris and keep the axle grease in place. If they are torn or the seal of the rubber boot is broken, the damage will occur from loss of the grease and entrance of dirt and other debris into the area. With CV joint damage, suspension vibration can occur. If a CV joint is causing shaking or vibrations, there may be clicking or thumping noises at turning points.

Vehicle vibrations can be extremely annoying as well as of concern, and the 6 common reasons given here should alert most any driver to what to look for and examine on a vehicle when vibrations are disruptive and unmanageable. If your car is experiencing vibrations and shaking and you’re not sure what to do, complete the online contact form and an expert will get back to you with the information you need to help diagnose the problem.

How To Stop Windshield Wipers From Squeaking?

How To Stop Windshield Wipers From Squeaking

Your windshield wipers are a critical safety component of your vehicle, yet we rarely ever think about them until we need them. Then, it begins to rain and we click on the wipers only to deal with an incessant squeaking that can drive you crazy. The noise is not the only problem, however. Windshield wipers that squeak could be putting additional strain on the mechanisms that make the wipers work and they could stop working altogether. There are many reasons why your windshield wipers could begin to chatter or squeak. If they do, these five steps may help eliminate the problem.

Low Windshield Washer Fluid

If the surface of the windshield is too dry, the wipers will squeak. If this is the issue, adding moisture to the windshield should eliminate the squeaking. Check your windshield washer fluid to be sure it isn’t low and use the liquid to keep the windshield wet.

Hard Wiper Blades

If your wiper blades grow to hard, they could chatter or squeak when you use them. You can soften wiper blades by spraying them with WD-40. You can also use a cloth soaked with rubbing alcohol. Spray or rub the blades until you feel them soften in your hands. If you choose to use WD-40, be sure to clean the blades or they will leave residue on your windshield.

Windshield Wax

There are products designed to keep water from collecting on your windshield. If you apply one of these products, like Rain-X, and find that your wipers began to squeak, clean the windshield wax from the windshield and try the wipers again. If the squeaking stops, you may want to avoid using those products on your windshield.

Wiper Assembly

Weather affect the tension of a wiper assembly. Snow build-up or extreme heat can either loosen or tighten the assembly. Wiggle the wiper arm and see if it moves too much or if it feels excessively tight. If either of these is true, adjust the assembly and this could resolve the squeaking.

Clean the Wipers

When wipers are dirty, they can malfunction. You can clean your wipers using a paper towel and glass cleaner. While you are cleaning the wipers, check the windshield for damage caused by road sand or salt. If your windshield is damaged, it needs to be addressed as soon as possible.

There is the possibility that the squeaking is due to windshield wiper blades that need replacing as well. If you are dealing with squeaking windshield wipers and can’t find the cause, call or fill out the online form today to schedule an appointment.

What Is My Exhaust Color Telling Me?

What Is My Exhaust Color Telling Me?

We’ve all seen the stereotypical tropes in movies and on television, of thick black or white fumes belching from a car’s exhaust. In some cases, it indicates the vehicle’s a clunker, in other cases, indicating the engine running hard. The truth of the matter is, you actually can determine quite a bit from the color and consistency of your exhaust.

When you start your car on a cold morning, no matter what, you’re bound to see a thick, smoke-like plume due to temperature differential, and condensation from the heat. Aside from that, exhaust should be relatively hard to see.

If you’ve got very visible, distinctly-colored exhaust coming out of your vehicle, it could be a sign of serious problems. Fortunately, you can somewhat diagnose the type of problem based on the color and consistency itself. Today, we’re going to take a look at the five common exhaust colors, and what they mean for the condition of your vehicle. This is very important, so take this information to heart – it could save your vehicle, and possibly your life.

Brown Exhaust

The standard color of exhaust is a brownish tint, though thin and generally hard to see from much distance. As we said a moment ago, on a cold morning, it may come out much thicker, and with a hint of white or a deeper brown. This should diminish as the car heats up.

Blue Exhaust

If you’ve got distinctly blue exhaust coming out, then you’re burning oil, and that’s never a good sign. There could be a stem seal or piston ring failure, or a turbocharger lubrication failure. These would allow oil into the combustion chambers.

If you see blue smoke like this coming out of your exhaust, monitor your oil levels – they will deplete much faster if an internal leak is causing oil to burn. If this confirms oil depletion, then you should consult a mechanic right away, as the continuing loss of lubrication can damage moving parts, and can damage the engine as it continues to burn oil.

Black Exhaust

If you have deeply black exhaust, it means that you’re not getting sufficient air flow. Air/fuel ratios are very important, and very precisely balanced in all engines, and when the ratio is wrong, some of this fuel just doesn’t burn, and remains in the chamber, producing noxious black smoke. This could be the result of the air filter being blocked/bad, or the turbocharger failing. In some cases, pressure regulation failure could also be the culprit.
This isn’t as significant a hazard as blue or white smoke, but will severely ruin your fuel economy, and will eventually add to the degradation of your engine over time.

White Smoke

White smoke actually means the presence of water vapor, which means that water is mixing with your fuel. This is often the symptom of a bigger problem, such as a seal being broken, the fuel regulator needing calibrated, or worst case scenario, the engine block being cracked.

Grey Smoke

Grey smoke means that you’re burning oil, and you’ve got water mixing with your fuel, which means that you may have a whole host of the problems mentioned above, and you should consider the vehicle pretty much unsafe to drive until a mechanic has effectively dealt with it.

To learn more about your exhaust, and other signs of failure, fill out our contact form today.