How Do Professionals Paint A Car?

How Do Professionals Paint A Car?

When you want to restore the look of your vehicle, you will probably have to repaint your car. Besides the cost, vehicle owners want to know how the repair will be completed. Well, those answers can be difficult to pin down. Before starting your next project, here are a few things you want to know.


Repainting Your Vehicle

With any repair job, you want to view it in stages. A paint job could take about 40 to 80 hours if you have minor repairs. In the project’s first stage, the technician will have to assess the damage and determine what needs to be fixed before moving to the painting. Take a look at those stages.


The First Stage

During the first step, the technician must remove the components to assess your vehicle’s damage. Disassembly can take a few hours. The front and rear bumper covers will need to be removed. Along with that, the technician will disassemble the light assemblies as well. Older cars with removable trim might need those components taken off during this stage.


The Bodywork Process

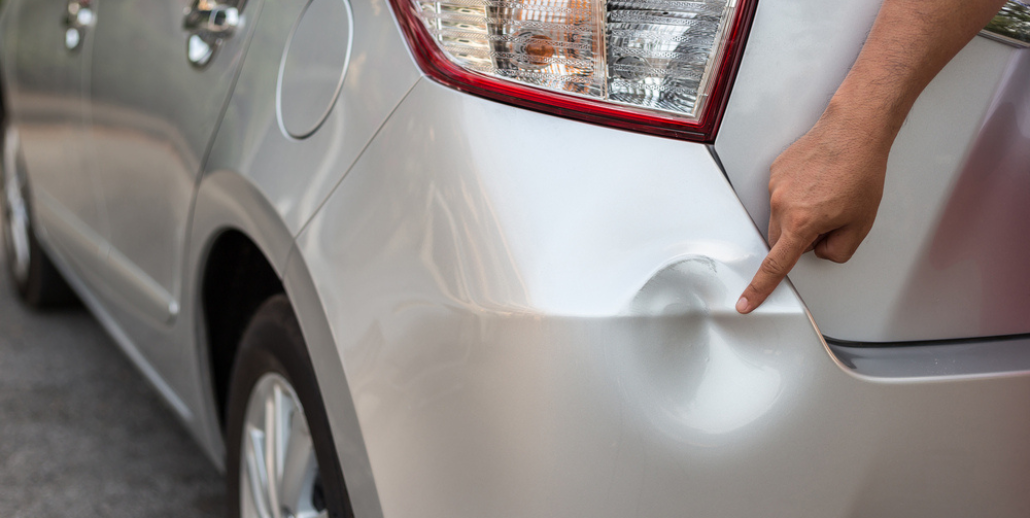
Once all the components have been removed or masked, the technician will take the time to assess the damage. The technician marks any spots with chips, dents, or peels. If the vehicle doesn’t have much damage, the technician will start the basic sanding process. Keep in mind that this process can take 30 hours, depending on the severity of the damage.

Sanding out paint damage can require a lot of time. In most situations, the surface will need to be primed and sanded. There are times when the technician must complete these stages in several steps. The drying and curing times of the primer is another factor to consider. If the technician applies a clear coat, you will have to wait another day to allow it to dry. Waiting for drying is usually not included in the labor costs, but it can add time to the project.


Color Matching

When a damaged vehicle arrives at the auto body repair shop, one of the first things the technician does is look at the paint. Cars usually have base colors that are listed on the spec sheet, and you can often find the color code somewhere within the vehicle, like on the inside of the driver-side door. However, the paint is going to fade a little, based on aging and the environment.

This means that relying on the base color might not yield a perfect color match. When that happens, the auto body repair shop has to do one of the following:

  • Deal with the mismatched color. If the paint is going to be somewhere that is unnoticeable, the client might be willing to accept the slight mismatch. This is the least desirable option, however, because it makes the repairs obvious.
  • Create a custom color. While challenging, this is an aesthetically pleasing option. It’s also time-consuming, moderately expensive, and may require trial and error before the color is correct. This is made more difficult when performed with a visual color matching assessment.
  • Repaint the entire vehicle. If the mismatch is going to be very noticeable, the body shop might decide to repaint the whole vehicle. However, this is problematic. The customer or—more likely—the insurance company is not going to want to pay the cost.


Applying the Paint

After the primed surface has been cured, the technician will use a block sander to prepare the surface for the paint application. Block sanding is done on a wet surface. Unfortunately, the process leaves behind sludge and debris. As you may have guessed, the technician must clean the vehicle before applying paint. Washing the car will require drying time, adding more time to the project.

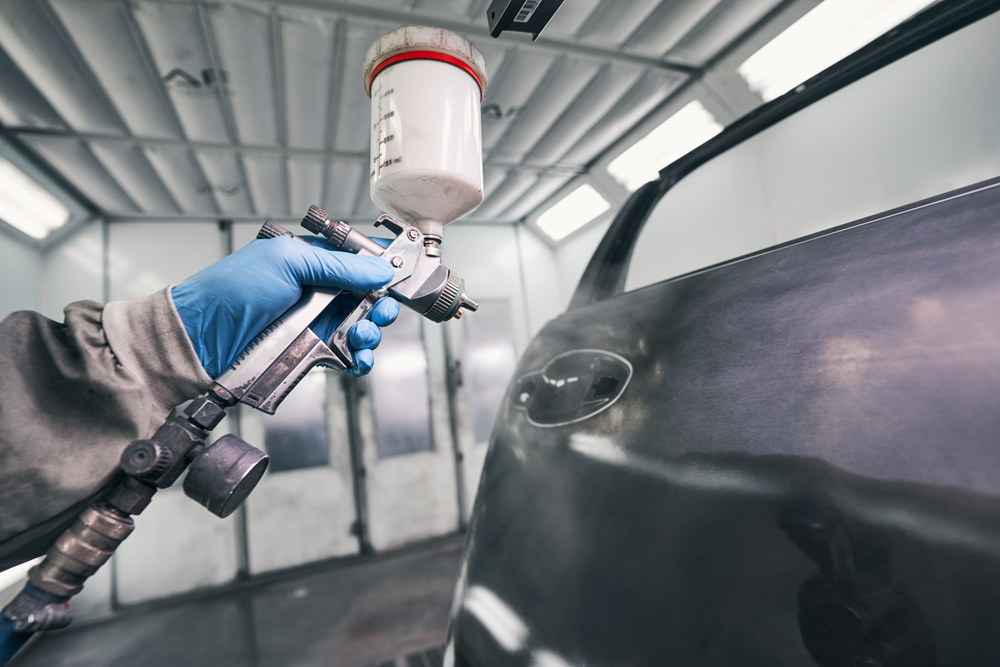
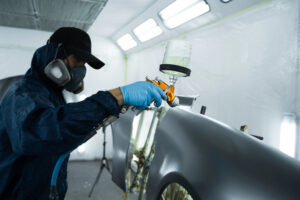
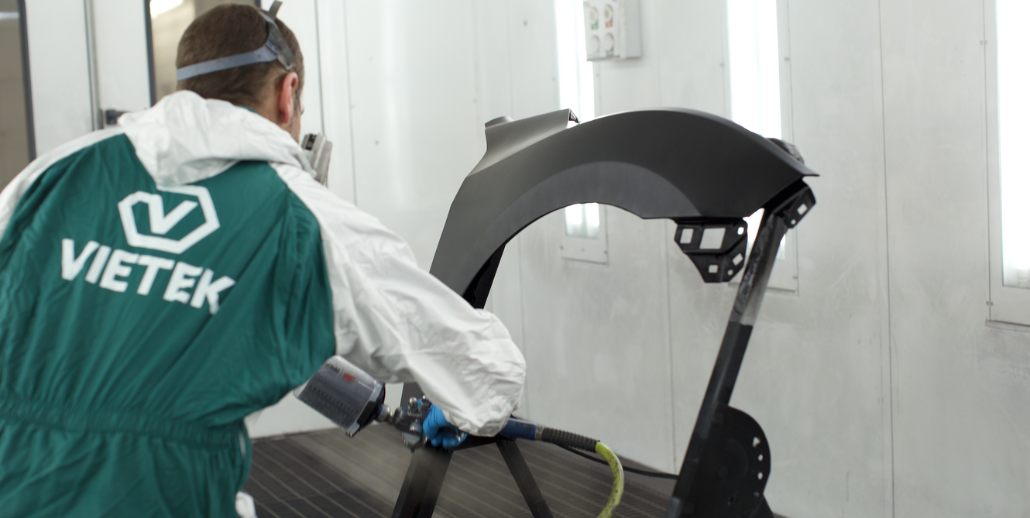
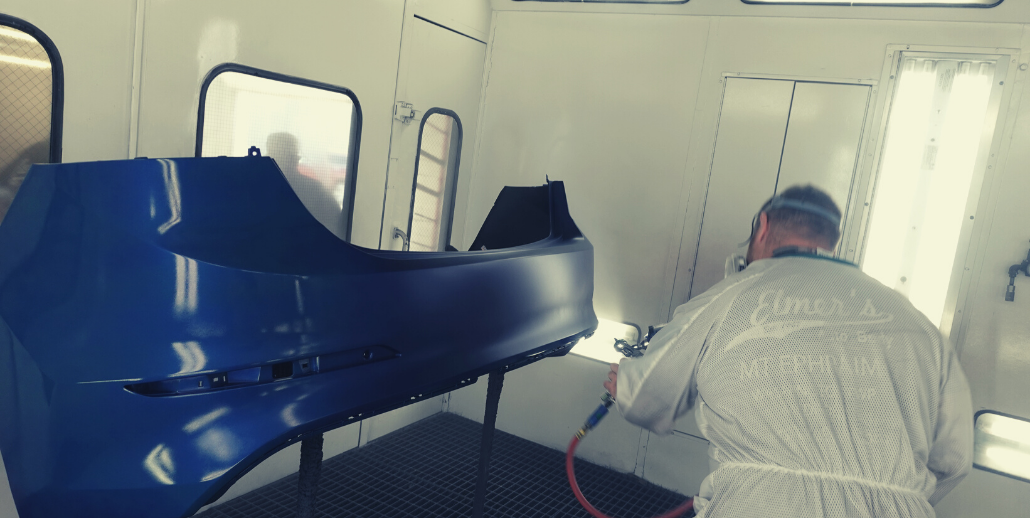
The car is now ready to be prepared for the paint. The technician will wipe off any dirt and grease from the surface. In addition to that, the car needs to be masked for the paint. A sealer is applied to the vehicle, and the tech must wait for it to dry. At this point, paint is ready to be added to the surface. Depending on the size of the project, the painting process could take around two to three hours.


Adding in the Details

After the application, most paints are ready for buffing. Some technicians will give it 24 hours before moving on to this step. Buffing will happen in three phases. First, a rough-cut compound is added to the surface to remove leftover sanding marks. After that stage, a milder compound removes any residue from the first compound. Finally, the last compound will take off any buffing swirls, leaving your vehicle with a deep luster and gloss.

Once again, the technician must wash the vehicle after the buffing. This wash is just a quick one to remove any residue from the surface. The technician will reassemble the car. With that, the vehicle gets a proper car wash, and the tech will dry it off with a soft towel. Some shops take extra time to clean the inside of the door jams, under the hood, the trunk, and wipe down the glass.


How Long Does It Take To Paint a Car?

Depending on the auto body shop, they could follow all of these steps or add in a few more. There are plenty of details that go into painting a car. When there are more steps, it will add time to the project.

Calculating auto bodywork and painting times can be difficult. There are also unexpected complications that could arise. In a few scenarios, the technician will not know the extent of the damage until everything is removed from the car. Talking to your technician can help you better understand the project’s time and costs.


Final Word

If you want to get a great quality paint job, you should take your vehicle to an experienced auto body paint repair shop. Before you sign the dotted line, ask about the price of the labor hours. You want to know the associated costs if the project exceeds the allotted time. Also, ask how the shop will address any complications during the project. A paint job takes a lot of work and attention because it is a detailed process. Keep that in mind when you take your vehicle in for a paint repair.


Let Us Paint Your Vehicle!

At Elmer’s Auto Body, we will work to give an accurate estimate for your painting job. We understand the importance of customer satisfaction. Our technicians use the latest tools and techniques to complete the job promptly. Plus, they will work hard to return your vehicle to its pre-accident condition. You can schedule a consultation by calling (856) 218-0202.

How Much Does It Cost to Paint a Bumper?

How Much Does It Cost to Paint a Bumper?

You might notice minor scratches or dings in your bumper and want to repair the damage. You can quickly fix the surface and repaint the bumper if the damage is minor. Any severe damage will take longer and require more money to fix. If you want to know how much it will cost to give your bumper a fresh look, here are a few things to expect.


Does a Bumper Need New Paint?

There are a few reasons why you need to paint or repaint a bumper. If you replace an old bumper, that new one will not have any paint color. You will need to paint it to match your vehicle.

Repainting a bumper must be done after any repair. Whether you have a crack or dent, you must repaint the bumper. Otherwise, you will have a mismatched bumper prone to cracking and chipping. Even if the bumper has minor nicks and scratches, it could be worth considering repainting your bumper. All those small scratches and chips could lead to further damage down the road.

Finally, if you want to sell your car in the future, you need to repaint the bumper to give your vehicle the best possible appearance to impress potential buyers.


Steps To Paint a Bumper

Whether you take your car to a bumper paint shop or handle the job by yourself, there are several steps to the process. Painting a bumper is not as simple as putting on a layer of paint and walking away. You need to follow specific steps to ensure the proper application on your vehicle.

First, you must remove your bumper from the vehicle. The surface must be clean. You need to wash away debris with soap and a degreaser. Take wet sandpaper and rub over those rough areas of the bumper. Afterward, wipe the bumper down with a microfiber cloth. Now you can apply the paint.

Paint the bumper with a base coat. Once again, you must wet sand any imperfections and wipe the surface with a microfiber cloth. This process will need to be done at least three times. After that, you can apply the two layers of clear coat. Finally, allow the bumper to dry for at least six hours before reattaching it.

Professional auto body repair shops will have tools to get the job done for your car. They may complete the repainting process with these same steps to get a professional-looking paint application for your vehicle.


Average Bumper Repaint Cost

How much to paint the front bumper of the car? Unfortunately, the price can vary. In most cases, the average cost will be around $500. It might seem steep, but you must factor into the price of the paint, prep work, and the technicians’ expertise. The repair shop will take time to custom-match your color for a flawless repair.

Proper prep work is just as important as the paint application process. You are paying for the shop to prepare the surface for the paint. When this step is not completed correctly, you can see the difference between a professional and an inexperienced job.

You have a decision whether to choose an amateur shop or an experienced one.

If you are concerned with price, you can spend anywhere from $200 to $300 to paint your bumper at an amateur shop. Remember that these economy-level jobs often do not color match your paint, and those repaired spots tend to fade faster than the rest of the vehicle. Also, lower-quality paint jobs are easier to chip and scratch than premium ones. In some cases, the economy-level job skips the second layer of clear coat, depriving your vehicle of that extra protection. Yes, you can save a little bit of money, but you will not be happy with the result, especially in the long run.

These low-budget chains and small shops will get the job done quickly and use inferior products on your vehicle. If you are picky about the appearance of your car, then you will want to choose a reputable professional shop.

You will want to take your vehicle to a highly rated auto body shop. These technicians are trained and have the experience to precisely match the color of your vehicle. They take the time to do the prep work for a high-quality repair.

Premium paint jobs will cost anywhere from $500 to $700 for a single color. If you have multiple colors or multi-stage paint, the repair cost can rise to about $1,000. However, look at the price as an investment. You will have a paint job that will last longer and continue to be visually appealing after a few years.


Is This a DIY Project?

If you know what you are doing, you can paint the front or rear bumper by yourself. Remember that any paint repairs will take a lot of work. Plus, you will be unable to precisely color match the existing paint. Unless you are trained, the result will look like a “do-it-yourself” job, and that’s not a good look for any vehicle.


Find a Professional Shop for the Job

You can skip all those hassles and bring your vehicle to a professional auto body shop. At Elmer’s Auto Body, our technicians are trained and will use the latest technology to color match your existing paint. We will take care of the prep work and application of the paint. Schedule your consultation by calling (856) 218-0202.

How Long Does It Take To Paint A Car?

How Long Does It Take To Paint A Car?

After you notice a nick or scratch in your vehicle’s paint, you will want to get it fixed. Before you schedule a paint job for your car, you need to know the time frame. Getting the exact time required to paint a car can be tricky to calculate. There are many factors to consider for the job. Let’s look at the typical timeline to paint a car.


The Assessment Stage

A complete paint job with simple bodywork could take 48 to 80 hours. The auto body shop will need to assess the damage during the initial stage. When the technician does the assessment, they might have to remove lights, emblems, trim, and door handles. If the technician cannot remove them, they will need to cover them. Once again, that will take time to complete the project. Those little things can cause the job to take longer than expected.


Disassembling the Components

After the assessment phase is completed, it is time to move to the color match stage. Before the technician pulls the car apart and sands the body, they need to get the right color. Auto body shops can effortlessly match your current paint with today’s modern tools. You will have a complete color match for your car.

Once the color is matched, then the disassembly of the car can begin. In some cases, this stage can take a couple of hours. Your technician might need to remove the light assemblies and bumper covers. Older cars often have car emblems, chrome bumpers, and trim pins that will need to be covered or removed.

Newer cars usually don’t have emblems or trim pins, saving time for the disassembly stage. If the car has a glass trim, it can be challenging to remove for repair. In that case, the technicians will usually mask it to prevent any damage.


Working on the Body

Once the components have been masked or removed, the next stage can begin. The technician will go around the car and mark certain areas that have chips, dents, or scratches. In most cases, the technician works on one panel at a time. If the car doesn’t have body damage, the technician will sand the surface with a sander. Depending on the extent of the body damage, this stage could require 30 hours or more.

Many shops use a paintless dent repair process to pull out those dents. While the process is easy, it can take time to fix them, especially with multiple dents. Some stubborn dents may have to use the stud gun pull method to help remove them. Once again, if there are numerous dents, it can take time to fix them on the car.

Sanding out paint cracks or dents will require more time. Any of these repairs require the surface to be primed. It can be time-consuming when your technician needs to apply a primer or sand the surface. If you want a definite time frame, you need to know the drying and curing time of the primers. In some situations, your technician will apply the primer and allow it to cure overnight before moving to the next step.


Painting the Car

After the primer has cured on the surface, the technician will use block sanding tools to prepare the surface. Block sanding is done when the surface is wet, and it is known to leave behind sludge and debris. That means the car will need to be washed before applying the paint. Once again, the vehicle will need time to dry.

Now the car can be prepped for the paint. The vehicle must have dirt and grease removed from the surface. At this stage, the car will get a top coating. The technician must also apply the sealer to the car. Professional sealers usually do not require any prep, and the technician can apply paint directly to them. Depending on the size of the vehicle, the sealing and painting process can take about 2 to 3 hours.


All in the Details

After 12 hours, most paints can be buffed. Some auto body shops may wait 24 hours before moving on to the detailing stage. After painting and sanding, the buffing stage will take place. The buffing stage will happen in three steps, adding more hours to the job. A rough-cut compound is often used to pull out the sanding marks. The second stage uses a milder compound to remove any marks leftover from the first compound. After that, another compound removes all the buffing swirls, leaving the paint with a beautiful luster and glossy appearance.

After the buffing, the car will have another wash. If any parts need to be reassembled, technicians must complete those steps. Once the vehicle is completely reassembled, the car will have a proper wash and dry to finish the job.

As you can tell, there are multiple steps to the car painting process. It is more complicated than adding paint to the surface. Not all auto body shops will follow these exact steps, but it can give you a guideline for the project’s time frame. Generally, you can expect a car to be repainted within 48 to 80 hours.

At Elmer’s Auto Body, we specialize in all types of vehicle repairs, especially painting services. If you have any questions about our process, reach out to us. When you need an auto body shop near me, call us at (856) 218-0202.

Do Repair Shops Sand A Vehicle Before Painting It?

Do Repair Shops Sand A Vehicle Before Painting It?

Have you been thinking about having your car painted? Or perhaps you have thought about doing it yourself? Either way, you have come to the right place. A full paint job is a big task, and it requires the right knowledge. Otherwise, it becomes a complete waste of time and money. A poorly-done paint job will make your entire car look cheap and ugly, so think carefully before you choose the DIY route. In any case, let’s talk about one of the most essential steps of the car painting process, and that is the sanding phase.


Do Repair Shops Sand A Vehicle Before Painting It?

The short answer is yes. A repair shop will always sand a vehicle before a new paint job is applied. Of course, there is a question of how much sanding they will do. There are different schools of thought on this matter, and not all shops will do it in the same way. There isn’t necessarily just one right way, either. A number of factors can influence this process.

Let’s start with the bare minimum. At the bare minimum, you will need to sand the old finish enough to roughen the surface. New paint will not easily stick to a smooth surface. Thus, if you don’t sand the paint job (at least a little bit), your paint will begin to flake and peel in no time at all. A little bit of surface roughness will provide the traction that is needed for the paint to stay in place.

If you really want to be thorough, you can sand the whole car down to the bare metal. If you are replacing a dark color with a lighter color, this really is the way to go. Otherwise, the old finish might darken the new one. Thus, you will not end up with the exact color that you wanted. However, if you are replacing a light color with a darker one, there is no need to sand the whole thing.


What Is The Best Way To Sand The Vehicle?

The best way is to use a small power sander. A mid-sized palm sander is a great option, as it will do the job with minimal effort. At the same time, you don’t want to use a full-size power sander unless you are a trained professional. Even then, it might not be the best idea. First of all, you might go too far and remove some of the underlying metal (that’s very bad because it reduces the structural strength of your car, which is a safety issue).

You could do the entire car by hand with sandpaper, but that is not usually the best option. Even if you are just roughening the surface (as opposed to removing all of the old paint down to the bare metal), it will take a long time to do the job using only sandpaper. Of course, if you don’t have any experience with this kind of thing, the best option is to simply take it to a reputable repair shop like ours.

Speaking of sandpaper, you need to be sure you get the right kind. If it is too rough, it will remove too much material. If it is too smooth, you’re going to be sanding all day long. Most people find that 2000-2500 grit sandpaper is ideal. You should also use some kind of cutting compound. This is just an abrasive chemical paste that is used to aid the removal of an old finish. Thus, you won’t have to do the whole thing with elbow grease alone.


What About Auto Primer?

As you may know, an automotive paint job requires that you put down a layer of primer. Like the sanding, this part of the process is meant to ensure that the final finish will adhere properly. Also, a primer layer will often be slightly uneven, so a little sanding can do a lot to level it out. However, the primer layer will still require sanding. You won’t have to go very deep when sanding a primer layer, of course, since it isn’t that thick in the first place.

It should be noted that drying and curing time is very important to the overall results. The general recommendation is to wait no more than 24 hours before applying the final coat. Some people choose to wait a lot longer, but it is not recommended. Of course, some types of primer will give you a lot more time. Environmental factors like humidity and temperature can also come into play.


The Importance Of Taping

As a final note, we should mention the importance of good taping. You should use painter’s tape (sometimes called “masking tape”) to cover all the surfaces that aren’t supposed to be painted or sanded. This includes the windows, windshield, any trim that you might have, headlights, taillights, etc. Don’t skimp on this step, as both sandpaper and paint can permanently damage those surfaces.


Conclusion

Many people find that the task of repainting their entire vehicle is a little bit too much. If you are one of those people, you should go ahead and call a reputable auto body shop. But, you might ask: “What is the best auto body shop near me?” Elmer’s Auto Body has been servicing the New Jersey area for over 75 years. If you need top-notch automotive painting or other bodywork, your best bet is to call our team at (856) 218-0202.

Can Bird Droppings Really Ruin My Car Paint?

Can Bird Droppings Really Ruin My Car Paint?

Bird droppings can spoil the look of your vehicle. Those bird splatters are more than an annoyance. While they might seem like a harmless mess, the droppings can cause damage to your vehicle’s paint. Before it gets to that point, you can do a few things to protect your paint from bird droppings.


Why Are Bird Droppings Bad?

You might think that bird droppings are no big deal, but they can damage your car’s paint. There is uric acid in bird droppings. When birds excrete that, it will eat away at your vehicle’s clear coat. Eventually, the paint will become damaged, exposing the metal chassis. Remember that metal will expand in the heat, making the bird droppings seep deeper into the paint layer.

Bird droppings have a pH level of 4, making them acidic. These acidic substances will try to reach a neutral state. During that process, these substances eat away at alkali objects, such as your paint. Uric acid can partially dissolve in a neutral substance like water. If you want to remove the bird mess, you will need to use more than water for the job.


Types of Bird Dropping Damage

There are several levels of bird-dropping damage. Most of the damage depends on the dropping’s size, how long it remains on the vehicle’s surface, and whether it has wrinkled.

Fresh Bird Droppings

If you are lucky, you can remove the bird droppings immediately after they have landed on your paint. In most cases, you can prevent damage to the vehicle’s surface. Paint damage often occurs within 48 hours of exposure to bird droppings.

Wrinkled Droppings

Allowing the bird droppings to remain on the vehicle’s paint can fracture or wrinkle the paint. That makes it harder to clean, and the feces can bond to the car’s paint.

Topical Stain Etching

This type of bird dropping will have a faded appearance. If the bird droppings have not soaked into the paint, you may be able to wipe these droppings off with a cloth. If they set into the paint, you might need to use harsh chemicals from a professional cleaning company.


How To Clean Bird Droppings Off Your Car

If you notice bird droppings on your vehicle, you need to take action. When you wait to clean the surface, it will start to eat into the layer of paint. Once the droppings begin to fracture or wrinkle, you will need a professional cleaning product to remove them.

When the droppings are wet, take a microfiber cloth or damp paper towel to the car’s surface. You should be able to wipe it off the surface easily. If the droppings are dried, take a damp paper towel and leave it on the stain for about 10 minutes. After that time, use the cloth to wipe off the mess. You might also want to use dishwashing soap for those stuck-on stains.

Old stains might need help from a professional cleaning solution. You could put some club soda on a cloth. It will neutralize the acid in the droppings and dissolve that solid matter. If you cannot remove all of it, apply a paint protection formula to slow down the erosion process. For those wrinkled or fractured droppings, take your car into a professional auto body shop for repainting.

If the droppings have been scrubbed without the desired result, you might want to talk to a professional auto body shop. By continuing to scrub, you can cause more damage to the paint.


Protecting Against Bird Dropping Damage

If you don’t want damage to your vehicle’s paint, think about parking your car inside a garage. Make sure to stay away from trees. These trees provide food, shelter, and nesting material for birds. Parking in those spots will leave your car vulnerable to damage.

Wherever there are trees, you will find birds, leading to droppings. Look for those telltale signs of bird droppings. As you can guess, you want to stay away from any areas with a large population of birds. Parking near these spaces will put a bullseye on your car’s paint.

You should try to park in a garage or carport. Any space that gives you a little cover will help to prevent bird damage to your paint. Not only are covered areas a great way to avoid bird droppings, but they can stop other elements from damaging the vehicle’s painted surface.

Consider using a car cover for your vehicle. These covers can protect your vehicle from damaging elements, including bird droppings. You should not use them as a long-term solution, but they can help prevent some damage, especially in the spring. Car covers are not very convenient since you will have to remove them and replace them throughout the day.

Finally, keep your vehicle clean. Yes, it seems like birds will soil freshly clean cars. However, you can easily wipe off those fresh bird droppings by keeping the surface cleaned and waxed. With a clean cloth, you will be able to wash any stains from the vehicle’s surface.

Birds can be destructive, but you can take steps to protect your paint. If you see any droppings on your vehicle, take a cloth and wipe it away. The longer you wait, the more damage these droppings can cause.

At Elmer’s Auto Body, we can help repair any damage from those bird droppings. Our team will work hard to return the paint back to its pre-damage conditions. When you need an auto body shop near me, call us at (856) 218-0202.

Why Does Auto Body Paint Fade?

Why Does Auto Body Paint Fade?

No matter how much you love your shiny new paint job, you should remember this: It will not last forever. All paint jobs will eventually deteriorate with time, and there are numerous reasons for this fact. You probably know that already, but you may not know why it happens. Let’s go over the most common causes of the problem so that you can fully understand why auto body paint will eventually fade.


Sunlight

This is probably the main cause of fading auto paint. Unless it happens to be a show car, your car is going to spend most of its time in the sunlight. Whether that might be on the road, in the parking lot, or in your driveway. This is harmful to the finish because sunlight does not just consist of light alone. It also contains UV radiation, which isn’t too good for your paint job. While this kind of radiation is not particularly harmful, it will cause degradation of a vehicle’s finish over time.

This happens because the paint absorbs that UV radiation and is changed. Its molecules become “excited”, meaning that their particles become more active. This eventually causes those molecules to break apart. When enough of them become damaged, the whole finish will start peeling and fading.


Road Salt

If you live in an area where road salt is frequently used to clear the roads, it can also be a hazard to your vehicle’s finish. Much like UV radiation, salt is corrosive over time. It may not cause damage in the short term, but it can cause a lot of damage over the long haul. Salt is corrosive because of its ionic properties. The presence of salt, water, and iron in the same place results in several chemical reactions, and this is why salt can be corrosive.

Salt will eventually result in rusting, but that won’t be the first stage. Long before any rust begins to form, the color of the paint will begin to fade. This is, of course, a warning sign that should not be ignored. When the salt has caused your paint job to fade, rusting issues will not be far behind. If you live in a colder-weather area where salt is a frequent problem, you might want to consider giving your car a quick daily rinse with the water hose.


Atmospheric Pollution

Pollution can also play a role in the fading of vehicle paint. the effects of pollution are magnified by wind speed, so highway driving can aggravate this issue. If you live in an area with an acid rain problem, you really need to worry about pollution issues.


Paint Color

It sounds a little weird, but the color of your finish can impact its longevity. There are just certain colors that lose their luster more quickly. Silver paint is one of the biggest culprits, as it has been proven to have a shorter lifespan. Water-based acrylic paints are also quicker to fade, and they are often used on cheaper cars for budget reasons.

In many cases, this happens because of differences in the hardness of the finish. Some paints are formulated to have a harder or softer finish when they dry. Needless to say, the softer options will fade much more quickly.


Cleaning Agents

If you are the kind of person who likes to keep your car squeaky clean, you should choose your cleaning products carefully. Some cleaners are abrasive, meaning that they are rough on the surface of the paint. An abrasive cleaner works kind of like a piece of steel wool…it cleans by removing the top layer of material. These abrasive cleaners will make your paint job thinner and thinner until it finally starts to fade and vanish.

Examples of abrasive cleaners include:

  • Baking Soda
  • Bleach
  • Acid-based cleaners
  • Lye-based cleaners
  • Strong alcohol-based cleaners
  • Most detergents
  • Any cleaner that contains small solid particles

Examples of non-abrasive cleaners include:

  • Pine-based cleaning products
  • Ammonia-based cleaners
  • Low-powered alcohol-based cleaners
  • Oxidation-based cleaners


Excessive Washing

Automatic car washes can also be very harmful to your car’s finish. We should clarify that an occasional run through the auto wash is nothing to worry about. However, the abrasive action of those big brushes can be bad for your paint. The high-pressure water spray is also pretty hard on the finish, and the strong soap that they use doesn’t help, either. Thankfully, this problem isn’t too hard to handle. Just limit your visits to the automatic car wash and/or do most of your washing by hand with soft brushes and non-abrasive cleaners.


Conclusion

No matter how careful you are, your car’s paint will eventually fade. However, it is possible to extend the life of that finish to a great degree. By limiting exposure to anything harsh and rough (like direct sunlight and noxious chemicals), you can keep that paint job looking bright and new for as long as possible. At Elmer’s Auto Body, we specialize in creating attractive and durable finishes that will last for years to come. If you find yourself asking: “Where is the best auto body shop near me?”, then you should know that we offer the best service in the entire New Jersey area. If you would like to know more about our expert services, please call Elmer’s Auto Body at (856) 218-0202.