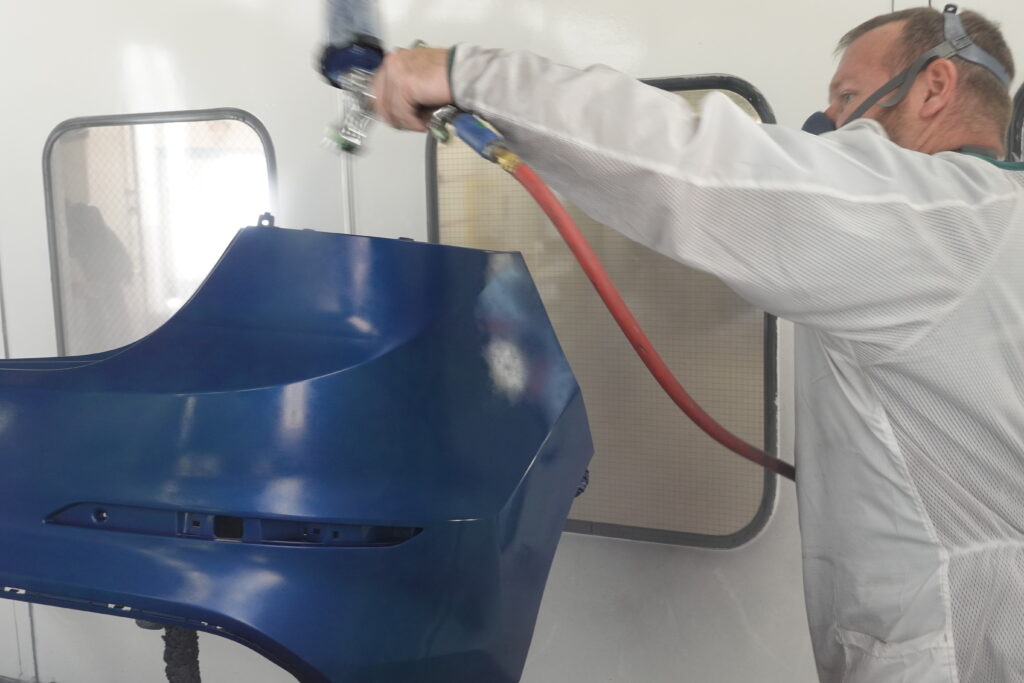
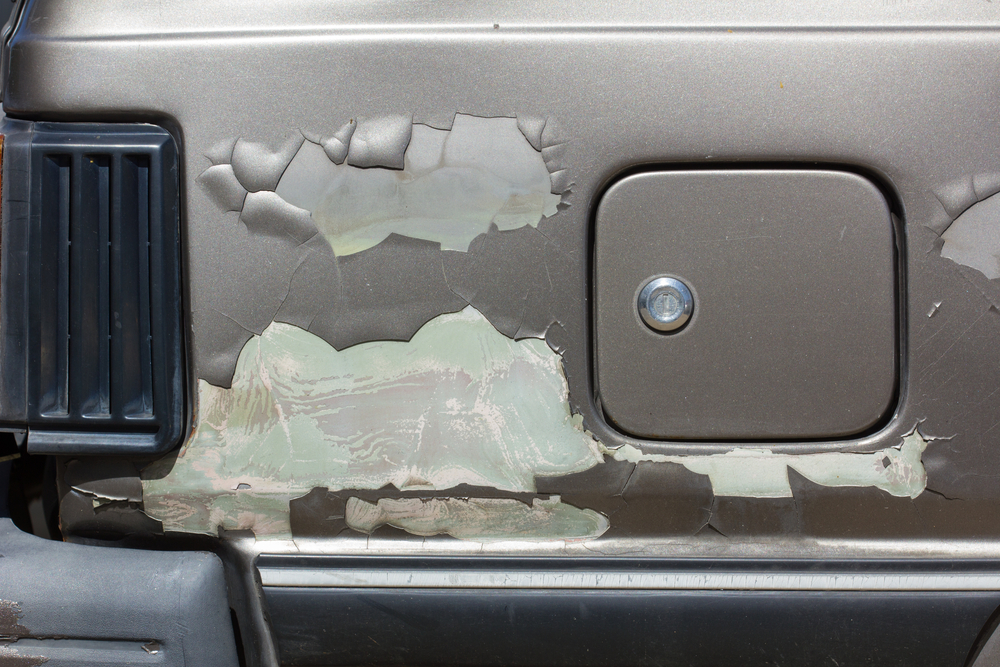
After your vehicle has been repainted, you may be disheartened when bubbles or blisters appear on the new coat. These paint bubbles typically emerge two to three months after the application, causing frustration and concern. Learning first what causes these paint blisters to appear is crucial, as is then figuring out how to fix the issue. Fortunately, this is a problem that can be addressed! Here’s what you need to know about car paint bubbles.
Causes of Paint Bubbles on Your Car in NJ
Paint bubbles, also known as osmotic blistering, occur when moisture enters the paint and becomes trapped below or within its surface. Now, this trapped moisture can form for a variety of reasons, including:
Heat and Humidity
If the car paint was applied on a hot and humid day, there is a greater chance of paint bubbles forming. As the paint is applied, the excess moisture in the air may become trapped in between the layers of paint. As the paint dries, the moisture is going to need somewhere to go, forming bubbles.
Insufficient Drying Time
When applying car paint, it is important that every layer dries. Otherwise, moisture and solvents in the paint are going to become trapped beneath the new surface. The same thing that happens on a humid day occurs: the air needs somewhere to go. In order to avoid paint bubbling, be sure to give the paint enough time to dry before proceeding onto the next layer.
Contaminants
Be sure to give your car a thorough washing before you decide to paint it. Wax residue, grease, dirt, and any other contaminants that are on the paint’s surface when you start applying the new coat are going to hinder proper adhesion. Sometimes these contaminants even react with the ingredients of the paint, causing reactions that result in bubbling and blistering.
Bare Metal Exposure
Sometimes bubbles will form when it comes in contact with metal. For example, your vehicle has a fender bender that scrapes away the paint from a metal component. Over time, that metal is exposed to debris and moisture, forming corrosion. When new paint is applied to that metal, it also comes into contact with moisture and contaminants that react negatively to the paint.
Solvent Pop
Another condition that can cause issues with the paint surface is solvent pop. Solvent pop occurs when too much paint is applied too quickly, particularly during the application of a clear coat. Instead of bubbles, solvent pop appears as tiny pinholes on the painted surface.
When excessive amounts of paint are applied rapidly, solvents in the paint don’t have enough time to evaporate properly. As a result, the trapped solvents create small pockets of air or bubbles that burst, leaving behind pinhole-sized imperfections on the paint surface. Solvent pop is often caused by improper spraying techniques or using incompatible paint products.

How to Fix Car Paint Bubbling
Now that you know that car paint bubbling is caused by moisture and contaminants under the paint, it is time to discuss the repair process. Do keep in mind that while these steps can be performed at home, it is always best to rely on one of the many trusted auto body shops in South Jersey, like Elmer’s Auto Body. Furthermore, the appropriate path for repairing paint bubble damage entirely depends on the severity of the blistering. Small areas are easier for a DIY project, while more extensive bubbling is often attributed to excessive corrosion.
Here are steps to address the problem:
Prepare The Surface
Do not skip this step! Clean the affected area thoroughly using a mild automotive detergent and a soft sponge or cloth. Remove any dirt, grease, or wax residue that may be present. Rinse the area with clean water and ensure it is completely dry before proceeding.
Sand Away The Paint Bubbles
Gently sand the area around the paint bubbles using fine-grit sandpaper. This step helps remove the blistered paint and creates a smooth surface for the new paint application. Be cautious not to sand too aggressively, as it may damage the underlying layers. Feather the edges of the sanded area to ensure a seamless blend with the surrounding paint.
Priming
Apply a high-quality automotive primer to the sanded area. The primer helps create a strong bond between the surface and the new paint. Choose a primer specifically designed for automotive applications. Be sure to apply the primer evenly to the entire area being repaired.
Repaint The Area
Once the primer is dry, apply a matching automotive paint color to the repaired area. Use light, even coats and allow sufficient drying time between each coat. It is advisable to use the same type and brand of paint that was originally used on the vehicle to ensure a seamless and durable repair.
Apply a Clear Coat
Wait for the paint to thoroughly dry then grab some clear coat. Clear coat provides a glossy finish and helps blend the repaired section with the rest of the car’s surface. When applying, make sure to use thin coats to create a uniform finish.
Polish and Wax
Once the clear coat has dried, polish the repaired area to blend it seamlessly with the surrounding paint. Use a high-quality automotive polish and a soft cloth to gently buff the surface. This step helps remove any imperfections and restores the shine to the repaired area. Finally, apply a wax or paint sealant to protect the repaired area and the entire car’s surface.
Look For an Auto Body Paint Shop in NJ?
Understanding the causes of paint bubbles on your car can help you address the issue more effectively and prevent it from happening in the future. For the best results, be sure to schedule an appointment at one of the auto body shops in South Jersey near you. Elmer’s Auto Body has several locations to choose from, as well as experienced staff with many years of experience. Aside from collision repair, Elmer’s Auto Body is also fully equipped for paintless dent repair and body paint repair. Give us a call today or fill out the contact form for more information or to schedule your appointment.

